Intro
WARNING: Please note that by doing this you are violating Cloudflare’s Terms of Use.
This guide will take you through setting up Nginx as a reverse proxy for icecast-kh for SSL with full IP forwarding support. This means you can see listeners IPs in the icecast-kh admin panel.
In this example, we are using Cloudflare to obtain a free SSL certificate. If your domain is not managed by Cloudflare I highly recommend switching, you can find out how to do this easily online, and it’s free! If you are unable to use Cloudflare, then this guide can be modified to work with LetsEncrypt without much effort, but those details are not going to be covered here.
Requirements
- icecast-kh running on an Ubuntu Server (20.04 at the time of this tutorial), a full guide can be found here.
- Nginx installed from a PPA.
- A server with a public IP address (or port forwarded), there are many guides of this online.
- A domain name with DNS controlled via Cloudflare.
Cloudflare setup
We need to set up a subdomain in Cloudflare to begin. So start by logging into your account and heading to the DNS page. Once we’re there we need to add a subdomain, let’s use icecast.example.com in this guide.

Now navigate to the SSL/TLS page, and then to origin server. And then click “Create Certificate”.

Leave all the values as default and click next.
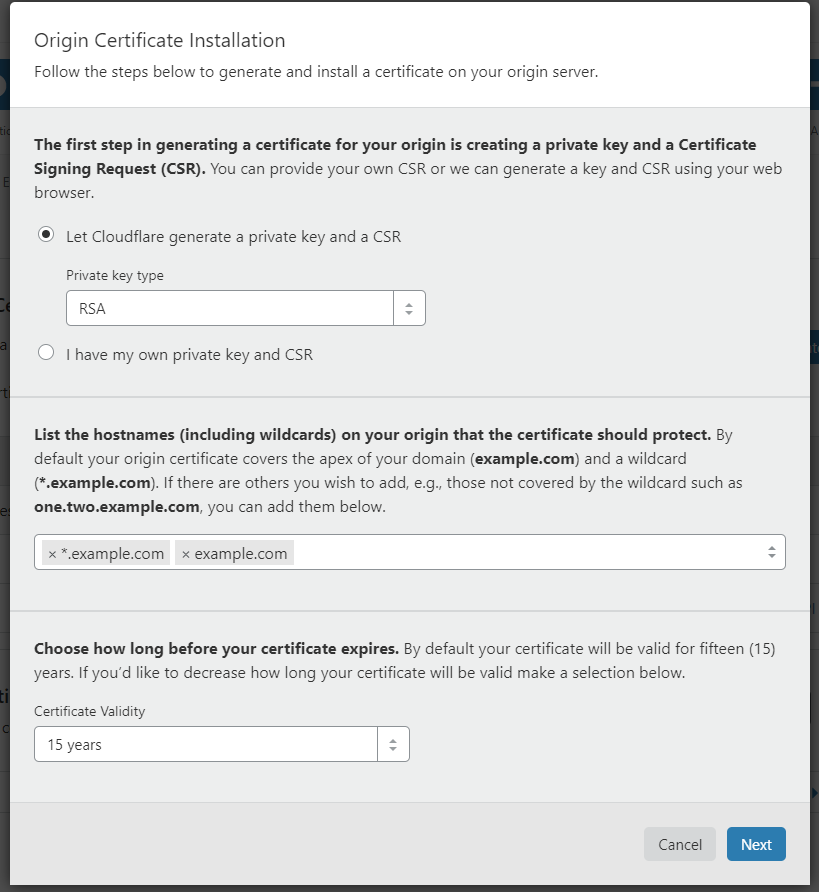
At the next screen, you will have two big lots of text, keep this tab open for the next step, if you accidently lose these details, you can go back to the beginning of the Cloudflare part, “delete” the current set of keys, and start again.
Installation
Make sure our server is up to date.
apt-get update
apt-get dist-upgrade -y
And some requirements.
apt-get install software-properties-common wget cron nano -y
Now let’s install Nginx via the official PPA.
add-apt-repository ppa:nginx/stable -y
apt-get update
apt-get install nginx nginx-extras -y
Setup our SSL certs, change the bold parts below to your own domain.
mkdir -p /etc/nginx/ssl
touch /etc/nginx/ssl/example.com.pem
touch /etc/nginx/ssl/example.com.key
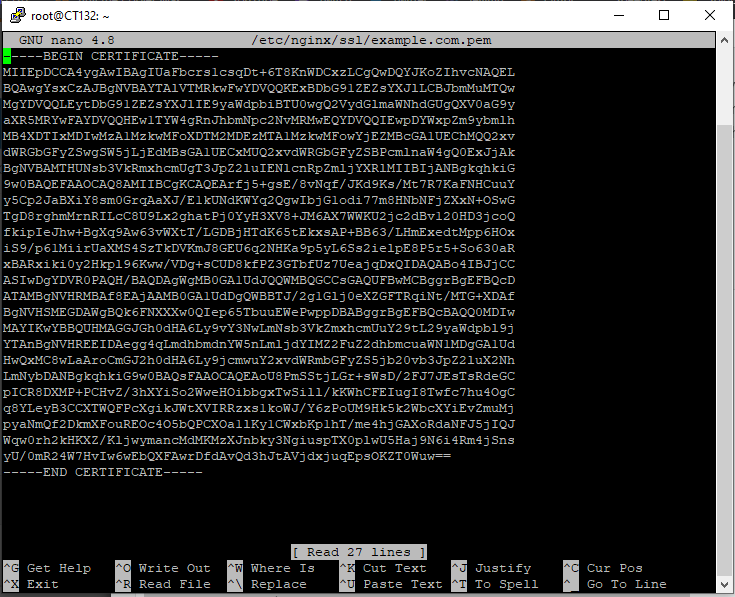
Now we need to copy our keys in from earlier, I’m going to use Nano, see below.
nano /etc/nginx/ssl/example.com.pem
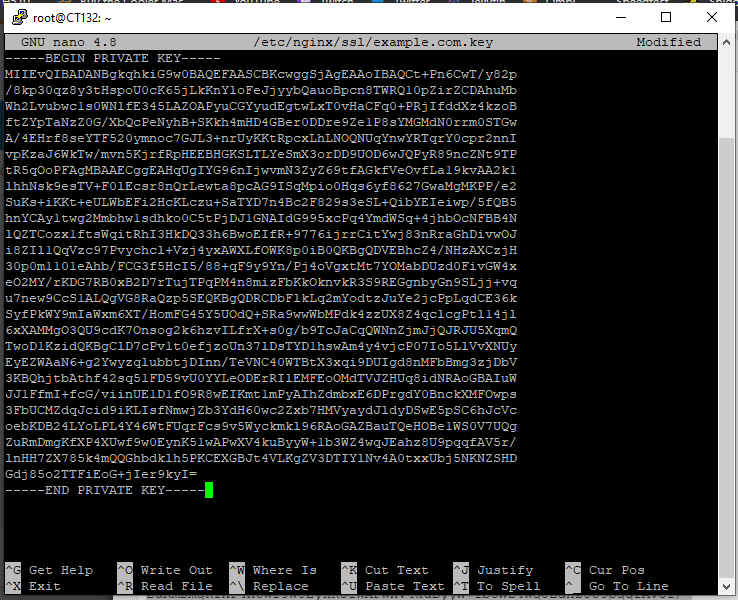
nano /etc/nginx/ssl/example.com.key
Now we need to add Cloudflare’s IP ranges into Nginx, let’s use this great script created by robsonsobral. I’ve made some slight changes so this works better with our setup.
wget "https://gist.githubusercontent.com/ssamjh/55bf1d1253f89e300abbed3377042b53/raw/ace6f104d5d47b8e647fb38ca090ede68b645344/cloudflare-update-ip-ranges.sh" -O /opt/cloudflare-update-ip-ranges.sh
Now let’s open our crontab settings, if promoted select your favourite editor, I recommend nano.
crontab -e
Scroll down to the very bottom and add this line.
0 0 * * * bash /opt/cloudflare-update-ip-ranges.sh >/dev/null 2>&1Now exit and save (ctrl + x) your crontab file and run the script then enable the config.
bash /opt/cloudflare-update-ip-ranges.sh
ln -s /etc/nginx/sites-available/cloudflare-ips.conf /etc/nginx/sites-enabled/
Get the icecast-kh Nginx script and put it into your config folder. Code can be viewed here. This config will also stop people accessing the admin panel as an extra layer of security.
wget "https://gist.githubusercontent.com/ssamjh/accd512f3f61152bcced871fb7b19646/raw/c15defd0c686383ab66f46af7d6193c3ed661ab6/icecastkh-proxy.conf" -O /etc/nginx/sites-available/icecastkh-proxy.conf
ln -s /etc/nginx/sites-available/icecastkh-proxy.conf /etc/nginx/sites-enabled/
And edit this file for our own domain using nano, update the bold part with your own domain.
nano /etc/nginx/sites-available/icecastkh-proxy.conf
server {

  listen 80;
  listen [::]:80;

  listen 443 ssl http2;
  listen [::]:443 ssl http2;

  ssl_certificate /etc/nginx/ssl/example.com.pem;
  ssl_certificate_key /etc/nginx/ssl/example.com.key;

  server_name icecast.example.com;

  location / {

    proxy_pass http://127.0.0.1:8000/;
    proxy_redirect off;
    proxy_set_header Host $host;
    proxy_set_header X-Forwarded-Proto $scheme;
    proxy_set_header X-Real-IP $remote_addr;
    proxy_set_header X-Forwarded-For $proxy_add_x_forwarded_for;

    subs_filter_types application/xspf+xml audio/x-mpegurl audio/x-vclt text/css text/xml;
    subs_filter ':8000/' '/' gi;
    subs_filter '@localhost' '@example.com' gi;
    subs_filter 'localhost' $host gi;
    subs_filter 'Mount Point ' $host gi;
  }
  location /admin/ {

    deny all;
  }

  location /server_version.xsl {

    deny all;
  }
}
Next we need to add a line to our icecast-kh config, assuming you followed my tutorial to set it up, the command would be:
nano /etc/icecast-kh/icecast.xml
And we need to add the line as the last entry above paths, marked in bold.
<icecast>
    <limits>
        <sources>2</sources>
    </limits>
    <authentication>
        <source-password>hackme1</source-password>
        <relay-password>hackme2</relay-password>
        <admin-user>admin</admin-user>
        <admin-password>hackme3</admin-password>
    </authentication>
    <directory>
        <yp-url-timeout>15</yp-url-timeout>
        <yp-url>http://dir.xiph.org/cgi-bin/yp-cgi</yp-url>
    </directory>
    <hostname>localhost</hostname>
    <listen-socket>
        <port>8000</port>
    </listen-socket>
    <fileserve>1</fileserve>
    <paths>
        <logdir>/usr/local/var/log/icecast</logdir>
        <webroot>/usr/local/share/icecast/web</webroot>
        <adminroot>/usr/local/share/icecast/admin</adminroot>
        <alias source="/" dest="/index.html"/>
        <x-forwarded-for>127.0.0.1</x-forwarded-for>
    </paths>
    <logging>
        <accesslog>access.log</accesslog>
        <errorlog>error.log</errorlog>
      	<loglevel>3</loglevel> <!-- 4 Debug, 3 Info, 2 Warn, 1 Error -->
    </logging>
</icecast>
After all of this is done, we need to restart icecast-kh.
systemctl restart icecast-kh
And lastly restart and enable Nginx.
systemctl enable nginx
systemctl start nginx
Final Notes
And we’re finally done, now go to icecast.example.com and you are ready to view the beauty.
Leave a Reply
You must be logged in to post a comment.