Piper is a fantastic tool for providing very realistic sounding TTS while also being efficient and fast. There are some publicly available pre-trained models, but if you’re here, that means you want to create your own voice. This guide aims to walk you through the steps.
Requirements
- WSL – only for Windows, installed by default
- An Nvidia GPU – technically possible without one
- A decent quality microphone
- A basic understanding of Linux
- Some basic Python knowledge
WSL – Windows Only
Start by opening a Command Prompt as admin (right click in start).
Update and set to version 2:
wsl --update
wsl --set-default-version 2Create:
wsl --install Ubuntu-22.04When done, open up the WSL from the start menu. On first launch it will prompt us for a username and password.
Once you are in the WSL, run these commands to update the Ubuntu repositories and install some required packages
sudo apt update
sudo apt dist-upgrade -y
sudo apt install python3-dev python3.10-venv espeak-ng ffmpeg build-essential -y
Piper – Recording Studio
Creating the venv
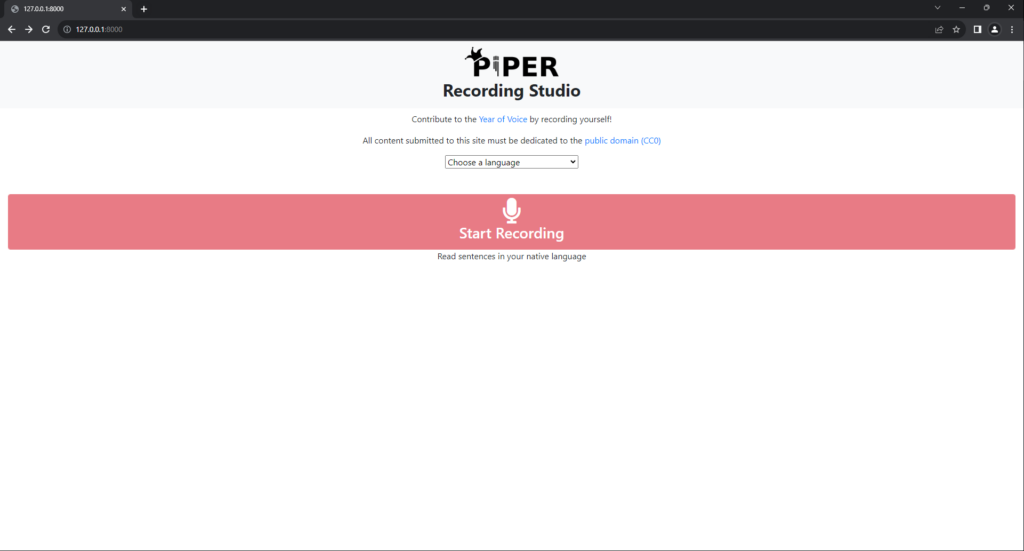
Piper Recording Studio allows us to easily record a dataset to train a model of our voice with.
Install:
cd ~/

git clone https://github.com/rhasspy/piper-recording-studio.git

python3 -m venv ~/piper-recording-studio/.venv

cd ~/piper-recording-studio/
source ~/piper-recording-studio/.venv/bin/activate

python3 -m pip install --upgrade pip
python3 -m pip install -r requirements.txt
python3 -m pip install -r requirements_export.txt
Run:
python3 -m piper_recording_studioRecording
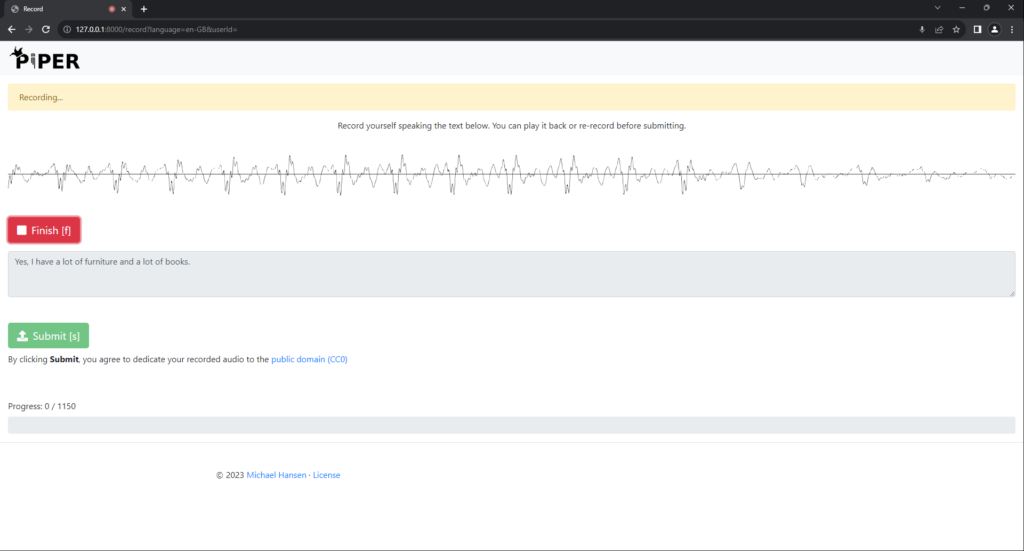
Go to http://localhost:8000, and follow the steps.
I used the English (United Kingdom) option. It best matches the New Zealand accent, but pick one that works best for you.
In my testing, I’ve done at least 100, but for the best results you should train as many as possible.
Exporting
Once you’re happy with the recordings, you can quit the program by pressing Ctrl + C.
Replace <lang> with your recording language. Identify it by checking the output directory or the URL during recording (http://127.0.0.1:8000/record?language=en-GB)
Exporting:
python3 -m export_dataset output/<lang>/ ~/piper-recording-studio/my-datasetFinishing up:
deactivatePiper TTS
Creating the venv
Let’s create a venv for piper itself. The python install commands will take some time.
Install:
cd ~/

git clone https://github.com/rhasspy/piper.git

python3 -m venv ~/piper/src/python/.venv

cd ~/piper/src/python/
source ~/piper/src/python/.venv/bin/activate

python3 -m pip install --upgrade pip
python3 -m pip install --upgrade wheel setuptools
python3 -m pip install -e .
sudo bash ~/piper/src/python/build_monotonic_align.sh
If you’re having troubles, you may also need to manually install torch metrics version 0.11.4 as follows:
python3 -m pip install torchmetrics=0.11.4Preprocessing your dataset
This section is a stripped down version of the Piper Training page, it’s highly recommended you read it in full. I am going to build a “medium” quality model, but this will get you going for now.
Copy the dataset:
cp -r ~/piper-recording-studio/my-dataset ~/piper/Now we begin the python script.
Don’t forget to also pick the language at this step too, here is a list of the options, this option will be what creates the “accent”. I’m in New Zealand, and I’ve found the “en” preset is the best.
Preprocess:
cd ~/piper/src/python/

python3 -m piper_train.preprocess \
  --language en \
  --input-dir ~/piper/my-dataset \
  --output-dir ~/piper/my-training \
  --dataset-format ljspeech \
  --single-speaker \
  --sample-rate 22050
Training (the long part)
Now it’s time to train, there is an art to getting the right amount of training, not enough and the voice sounds robotic and too much and the voice may be “over-trained”.
In the Piper training docs the example command has a max epoch value of 10,000, but I’ve found it can work with a number like 6,000 also.
To make training much faster, we can train from an existing checkpoint. I’ve had good results with “lessac” medium one, so let’s download that.
Oh, and even though it says “en_US” I’ve found that does not matter when using other English accents (in the preprocessing stage).
wget https://huggingface.co/datasets/rhasspy/piper-checkpoints/resolve/main/en/en_US/lessac/medium/epoch%3D2164-step%3D1355540.ckpt -O ~/piper/epoch=2164-step=1355540.ckptAnd now once all of that is done, time to begin training. For now we will set the max epoch as 6,000 – this can be changed later.
Note: The epoch value is the total amount of epochs. If your existing checkpoint is 2300, and you set max_epochs to 2400, it will only train 100 epochs. Thanks to Bargobones for this suggestion.
Make sure to also update the bold parts with the folders you used in previous steps.
If you have an Nvidia GPU then leave the accelerator line in, otherwise you can train on a CPU only, but this will take days and days or even longer. The batch size can be adjusted to suit your GPU. I have a RTX 3080 and I find 42 works well, but in testing on a GTX 1080 I had to lower it to 12. You’ll know this is an issue if the training complains about running out of memory.
cd ~/piper/src/python/

python3 -m piper_train \
    --dataset-dir ~/piper/my-training \
    --accelerator 'gpu' \
    --devices 1 \
    --batch-size 32 \
    --validation-split 0.0 \
    --num-test-examples 0 \
    --max_epochs 6000 \
    --resume_from_checkpoint ~/piper/epoch=2164-step=1355540.ckpt \
    --checkpoint-epochs 1 \
    --precision 32
Testing the model
If you want to quickly test the model, we can use the python script for it.
First, copy the file from the existing folder we downloaded earlier, thanks to Bargobones for pointing this out.
cp ~/piper/etc/test_sentences/test_en-us.jsonl ~/piper/test_en-us.jsonlAnd now run the test code (making sure we are in the venv).
Check the version_X is the right number (it will be showing in the training logs).
cat ~/piper/etc/test_sentences/test_en-us.jsonl | \
    python3 -m piper_train.infer \
        --sample-rate 22050 \
        --checkpoint ~/piper/my-training/lightning_logs/version_0/checkpoints/*.ckpt \
        --output-dir ~/piper/my-training/output
We can then access the files to listen to, by opening Windows Explorer and clicking on the “Linux” section at the bottom right. Once there, click “Home”, then “Ubuntu” and then the username you created at the start. From there you will see the piper folder and inside there is the training folder.
Resuming training
Lets say you want to pause training, then it’s easy to resume the training from where you left off. You just need to modify the command slightly.
We need to change the –resume-from-checkpoint option to specify the latest cpkt file. You can tell which is the latest file by browsing the ~/piper/my-training/ folder, each time you run the training it will create a “version” and you just need to pick the latest one (highest number). In this case, it’s training_0 for me.
Then inside the training folder, there is a lighting_logs folder, then there is a checkpoint folder, and inside that there will be a cpkt file, this is what we have to provide in the resume argument. You will need to modify this command yourself based off the file structure and version number.
cd ~/piper/src/python/

python3 -m piper_train \
    --dataset-dir ~/piper/my-training \
    --accelerator 'gpu' \
    --devices 1 \
    --batch-size 32 \
    --validation-split 0.0 \
    --num-test-examples 0 \
    --max_epochs 6000 \
    --resume_from_checkpoint ~/piper/my-training/lightning_logs/version_0/checkpoints/epoch=5589-step=1382940.ckpt \
    --checkpoint-epochs 1 \
    --precision 32
Exporting
And that brings me to the last step, exporting. It goes something like this.
Make sure to replace the cpkt file with the most recent version from your “my-training” directory.
mkdir ~/piper/my-model

python3 -m piper_train.export_onnx \
    ~/piper/my-training/lightning_logs/version_0/checkpoints/epoch=5589-step=1382940.ckpt \
    ~/piper/my-model/model.onnx

cp ~/piper/my-training/config.json \
   ~/piper/my-model/model.onnx.json
Bonus links
PiperUI by natlamir – A easy to use UI that makes generating TTS from a completed Piper model very easy on Windows.
FAQs
Q: I’ve quit the Ubuntu WSL and now commands aren’t working?
A: You need to re-enable the python venv, see the bold commands under the “install” section for both Piper and Piper Recording Studio.
Q: I get a libcuda error when trying to train?
A: It’s due to a bug explained here. Try this command to fix it:
sudo rm -r /usr/lib/wsl/lib/libcuda.so.1 && sudo rm -r /usr/lib/wsl/lib/libcuda.so && sudo ln -s /usr/lib/wsl/lib/libcuda.so.1.1 /usr/lib/wsl/lib/libcuda.so.1 && sudo ln -s /usr/lib/wsl/lib/libcuda.so.1.1 /usr/lib/wsl/lib/libcuda.so && sudo ldconfigQ: How can I move the WSL system to another drive?
A: Installing to a custom drive is not supported, but after creating you can move it, see this page.
Conclusion
So this guide was the result of about 2 weeks of me playing around with trial and error.
A massive shoutout to Thorsten-Voice and this video in particular for getting me started, you’ll even see my helpless comment on that video.
And some ideas of what you can do next, what about using your own voice in a setup like this, or maybe creating a website which allows people to create TTS using your voice – I’ve done this and nothing bad has happened… yet.
Leave a Reply
You must be logged in to post a comment.